


Automated Provisioning of Multi-tier App Deployment
vagrant IaC, Tomcat installation, DB installation, Nginx Automation


This article is about the automation of the complete setup and deployment of the multi-tire java based application that I did by manual provisioning: Manual Provisioning of the Multi-tier Web Application
You can refer to the above link to see the manual provisioning.
Vagrant File
Vagrant.configure("2") do |config|
  config.hostmanager.enabled = true
  config.hostmanager.manage_host = true

### DB vm  ####
  config.vm.define "dbSQL" do |db01|
    db01.vm.box = "jacobw/fedora35-arm64"
    db01.vm.hostname = "db01"
    db01.vm.network "private_network", ip: "192.168.56.15"
    db01.vm.provision "shell", path: "mysql.sh"

  end

### Memcache vm  ####
  config.vm.define "MemCached" do |mc01|
    mc01.vm.box = "jacobw/fedora35-arm64"
    mc01.vm.hostname = "mc01"
    mc01.vm.network "private_network", ip: "192.168.56.14"
    mc01.vm.provision "shell", path: "memcache.sh"
  end

### RabbitMQ vm  ####
  config.vm.define "rabbitMQ" do |rmq01|
    rmq01.vm.box = "jacobw/fedora35-arm64"
  rmq01.vm.hostname = "rmq01"
    rmq01.vm.network "private_network", ip: "192.168.56.16"
    rmq01.vm.provision "shell", path: "rabbitmq.sh"
  end

### tomcat vm ###
   config.vm.define "TomcatSVC" do |app01|
    app01.vm.box = "jacobw/fedora35-arm64"
    app01.vm.hostname = "app01"
    app01.vm.network "private_network", ip: "192.168.56.12"
    app01.vm.provision "shell", path: "tomcat.sh"
    app01.vm.provider "vmware_desktop" do |vb|
     vb.memory = "1024"
   end
   end


### Nginx VM ###
  config.vm.define "NginxSVC" do |web01|
    web01.vm.box = "spox/ubuntu-arm"
    web01.vm.hostname = "web01"
  web01.vm.network "private_network", ip: "192.168.56.11"
  web01.vm.provision "shell", path: "nginx.sh"
end

end
In the above Vagrant file, we'll use the respective shell script for the setup. For example, you can see for the DB setup we have referred to mysql.sh file which will install mySQL maria DB in the VM dedicated for DB Setup.
Shell Script for DB Setup
#!/bin/bash
sudo mv /etc/yum.repos.d/fedora-updates.repo /tmp/
sudo mv /etc/yum.repos.d/fedora-updates-modular.repo /tmp/
sudo yum clean all
sudo yum update -y
DATABASE_PASS='admin123'
sudo yum install epel-release -y
sudo yum install git zip unzip -y
sudo yum install mariadb-server -y


# starting & enabling mariadb-server

sudo systemctl start mariadb
sudo systemctl enable mariadb
cd /tmp/
git clone -b local-setup https://github.com/devopshydclub/vprofile-project.git
#restore the dump file for the application
sudo mysqladmin -u root password "$DATABASE_PASS"
sudo mysql -u root -p"$DATABASE_PASS" -e "UPDATE mysql.user SET Password=PASSWORD('$DATABASE_PASS') WHERE User='root'"
sudo mysql -u root -p"$DATABASE_PASS" -e "DELETE FROM mysql.user WHERE User='root' AND Host NOT IN ('localhost', '127.0.0.1', '::1')"
sudo mysql -u root -p"$DATABASE_PASS" -e "DELETE FROM mysql.user WHERE User=''"
sudo mysql -u root -p"$DATABASE_PASS" -e "DELETE FROM mysql.db WHERE Db='test' OR Db='test\_%'"
sudo mysql -u root -p"$DATABASE_PASS" -e "FLUSH PRIVILEGES"
sudo mysql -u root -p"$DATABASE_PASS" -e "create database accounts"
sudo mysql -u root -p"$DATABASE_PASS" -e "grant all privileges on accounts.* TO 'admin'@'localhost' identified by 'admin123'"
sudo mysql -u root -p"$DATABASE_PASS" -e "grant all privileges on accounts.* TO 'admin'@'%' identified by 'admin123'"
sudo mysql -u root -p"$DATABASE_PASS" accounts < /tmp/vprofile-project/src/main/resources/db_backup.sql
sudo mysql -u root -p"$DATABASE_PASS" -e "FLUSH PRIVILEGES"

# Restart mariadb-server
sudo systemctl restart mariadb


#starting the firewall and allowing the mariadb to access from port no. 3306
#sudo systemctl start firewalld
#sudo systemctl enable firewalld
#sudo firewall-cmd --get-active-zones
#sudo firewall-cmd --zone=public --add-port=3306/tcp --permanent
#sudo firewall-cmd --reload
sudo systemctl stop firewalld
sudo systemctl disable firewalld
sudo systemctl restart mariadb
Shell Script for Memcached Setup
#!/bin/bash
mv /etc/yum.repos.d/fedora-updates.repo /tmp/
mv /etc/yum.repos.d/fedora-updates-modular.repo /tmp/
yum clean all
yum update
sudo yum install epel-release -y
sudo yum install memcached -y
sudo systemctl start memcached
sudo systemctl enable memcached
sudo systemctl status memcached
firewall-cmd --add-port=11211/tcp --permanent
firewall-cmd --reload
sed -i 's/OPTIONS="-l 127.0.0.1"/OPTIONS=""/' /etc/sysconfig/memcached
sudo systemctl restart memcached

sudo memcached -p 11211 -U 11111 -u memcached -d
Shell Script for RabbitMQ
#!/bin/bash
sudo mv /etc/yum.repos.d/fedora-updates.repo /tmp/
sudo mv /etc/yum.repos.d/fedora-updates-modular.repo /tmp/
sudo yum clean all
sudo yum update -y
echo "SElinux changes."
sed -i 's/SELINUX=enforcing/SELINUX=disabled/' /etc/selinux/config
setenforce 0
echo
echo
curl -s https://packagecloud.io/install/repositories/rabbitmq/erlang/script.rpm.sh | sudo bash
sudo yum clean all
sudo yum makecache
sudo yum install erlang -y
curl -s https://packagecloud.io/install/repositories/rabbitmq/rabbitmq-server/script.rpm.sh | sudo bash
sudo yum install rabbitmq-server -y
rpm -qi rabbitmq-server
systemctl start rabbitmq-server
sudo systemctl enable rabbitmq-server
sudo systemctl status rabbitmq-server
sudo sh -c 'echo "[{rabbit, [{loopback_users, []}]}]." > /etc/rabbitmq/rabbitmq.config'
sudo rabbitmqctl add_user test test
sudo rabbitmqctl set_user_tags test administrator
firewall-cmd --add-port=5671/tcp --permanent
firewall-cmd --add-port=5672/tcp --permanent
firewall-cmd --reload
sudo systemctl restart rabbitmq-server
nohup sleep 30 &&  reboot &
echo "going to restart now"
Shell Script for Tomcat Setup(It's being installed in CentOS)
sudo mv /etc/yum.repos.d/fedora-updates.repo /tmp/
sudo mv /etc/yum.repos.d/fedora-updates-modular.repo /tmp/
sudo yum clean all
sudo yum update
TOMURL="https://archive.apache.org/dist/tomcat/tomcat-8/v8.5.37/bin/apache-tomcat-8.5.37.tar.gz"
yum install java-1.8.0-openjdk -y
yum install git maven wget -y
echo 'JAVA_HOME=/usr/lib/jvm/jre-1.8.0-openjdk' > /etc/java/maven.conf
sudo yum install java-1.8.0-openjdk-devel -y
curl -s "https://get.sdkman.io" | bash
source "$HOME/.sdkman/bin/sdkman-init.sh"
sdk install java 8.0.302-open
cd /tmp/
wget $TOMURL -O tomcatbin.tar.gz
EXTOUT=`tar xzvf tomcatbin.tar.gz`
TOMDIR=`echo $EXTOUT | cut -d '/' -f1`
useradd --shell /sbin/nologin tomcat
rsync -avzh /tmp/$TOMDIR/ /usr/local/tomcat8/
chown -R tomcat.tomcat /usr/local/tomcat8

rm -rf /etc/systemd/system/tomcat.service

cat <<EOT>> /etc/systemd/system/tomcat.service
[Unit]
Description=Tomcat
After=network.target

[Service]

User=tomcat
Group=tomcat

WorkingDirectory=/usr/local/tomcat8

#Environment=JRE_HOME=/usr/lib/jvm/jre
Environment=JAVA_HOME=/usr/lib/jvm/jre

Environment=CATALINA_PID=/var/tomcat/%i/run/tomcat.pid
Environment=CATALINA_HOME=/usr/local/tomcat8
Environment=CATALINE_BASE=/usr/local/tomcat8

ExecStart=/usr/local/tomcat8/bin/catalina.sh run
ExecStop=/usr/local/tomcat8/bin/shutdown.sh


RestartSec=10
Restart=always

[Install]
WantedBy=multi-user.target

EOT

systemctl daemon-reload
systemctl start tomcat
systemctl enable tomcat

git clone -b local-setup https://github.com/devopshydclub/vprofile-project.git
cd vprofile-project
mvn install
systemctl stop tomcat
sleep 60
rm -rf /usr/local/tomcat8/webapps/ROOT*
cp target/vprofile-v2.war /usr/local/tomcat8/webapps/ROOT.war
systemctl start tomcat
firewall-cmd --add-port=8080/tcp --permanent
firewall-cmd --reload
systemctl restart tomcat
Shell Script for Nginx Setup
# adding repository and installing nginx
apt update
apt install nginx -y
cat <<EOT > vproapp
upstream vproapp {

 server app01:8080;

}

server {

  listen 80;

location / {

  proxy_pass http://vproapp;

}

}

EOT

mv vproapp /etc/nginx/sites-available/vproapp
rm -rf /etc/nginx/sites-enabled/default
ln -s /etc/nginx/sites-available/vproapp /etc/nginx/sites-enabled/vproapp

#starting nginx service and firewall
systemctl start nginx
systemctl enable nginx
systemctl restart nginx
Execution
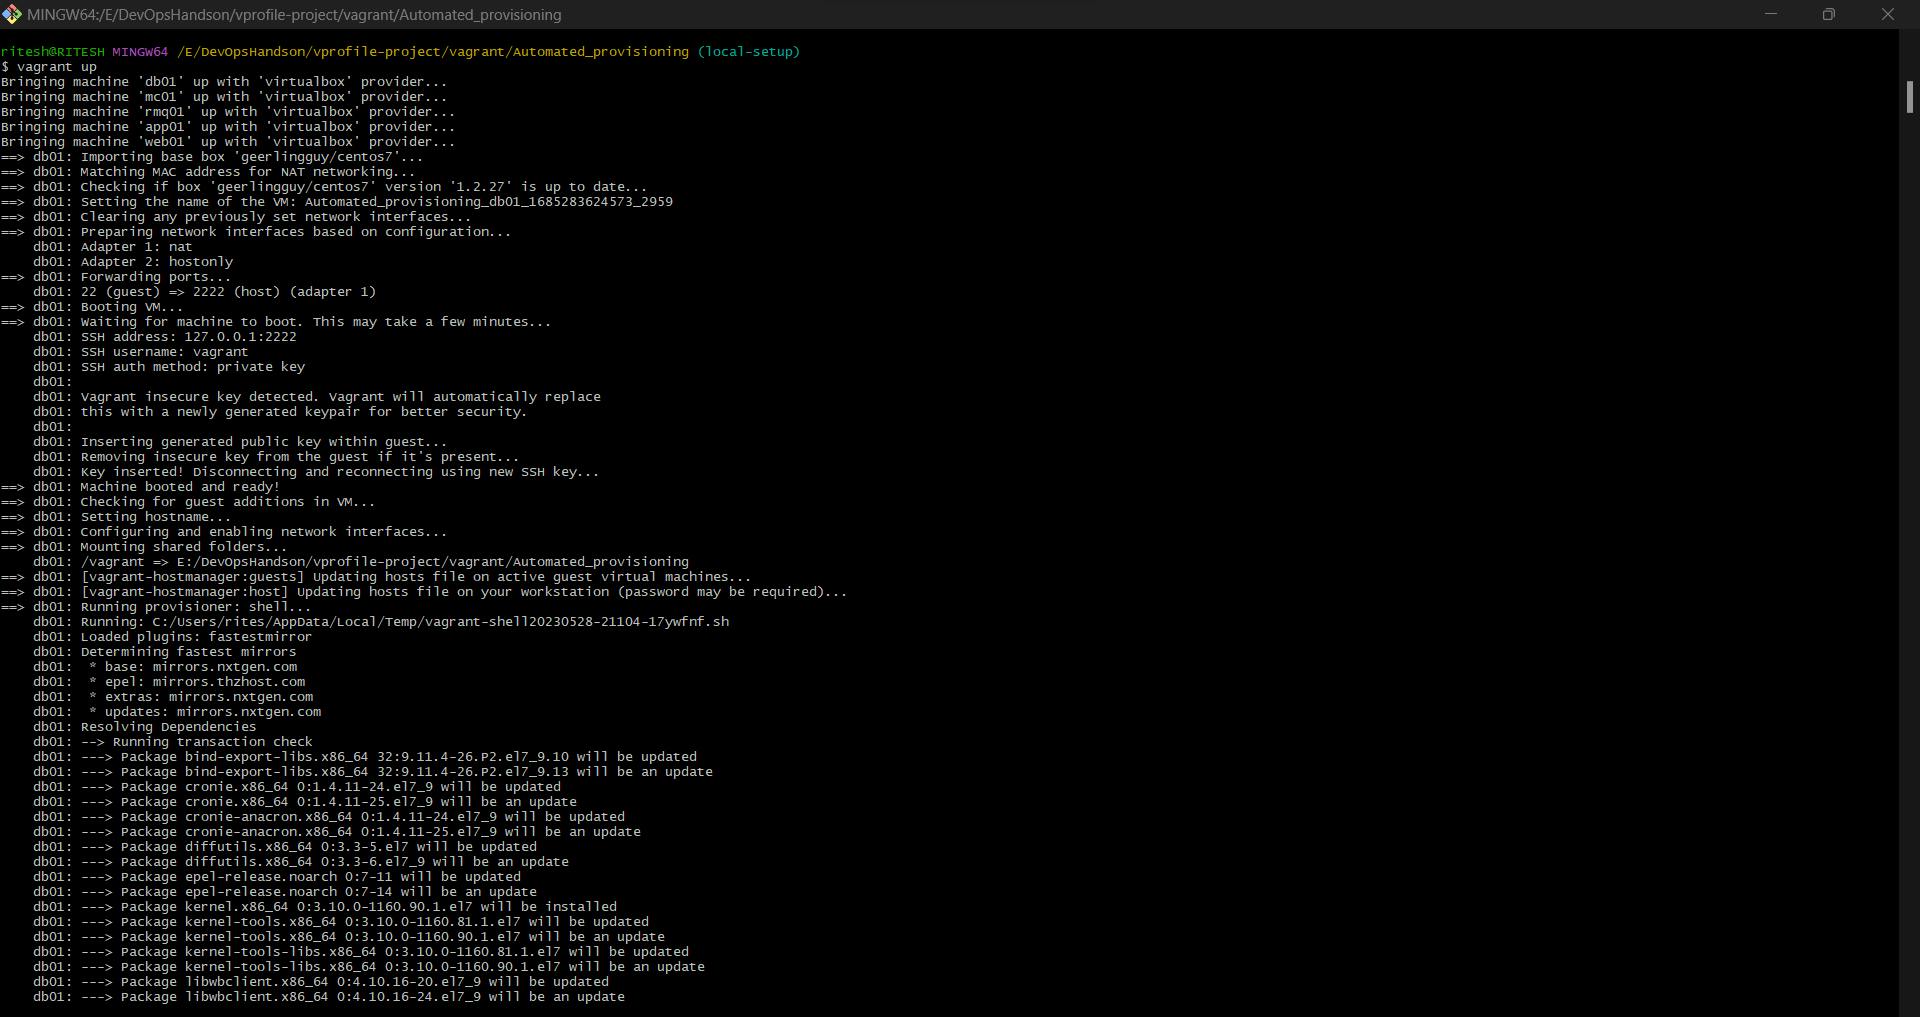
Move to the directory where the Main vagrant file is present.
It is suggested to keep all the Shell scripts in the same directory where the vagrant file is present.
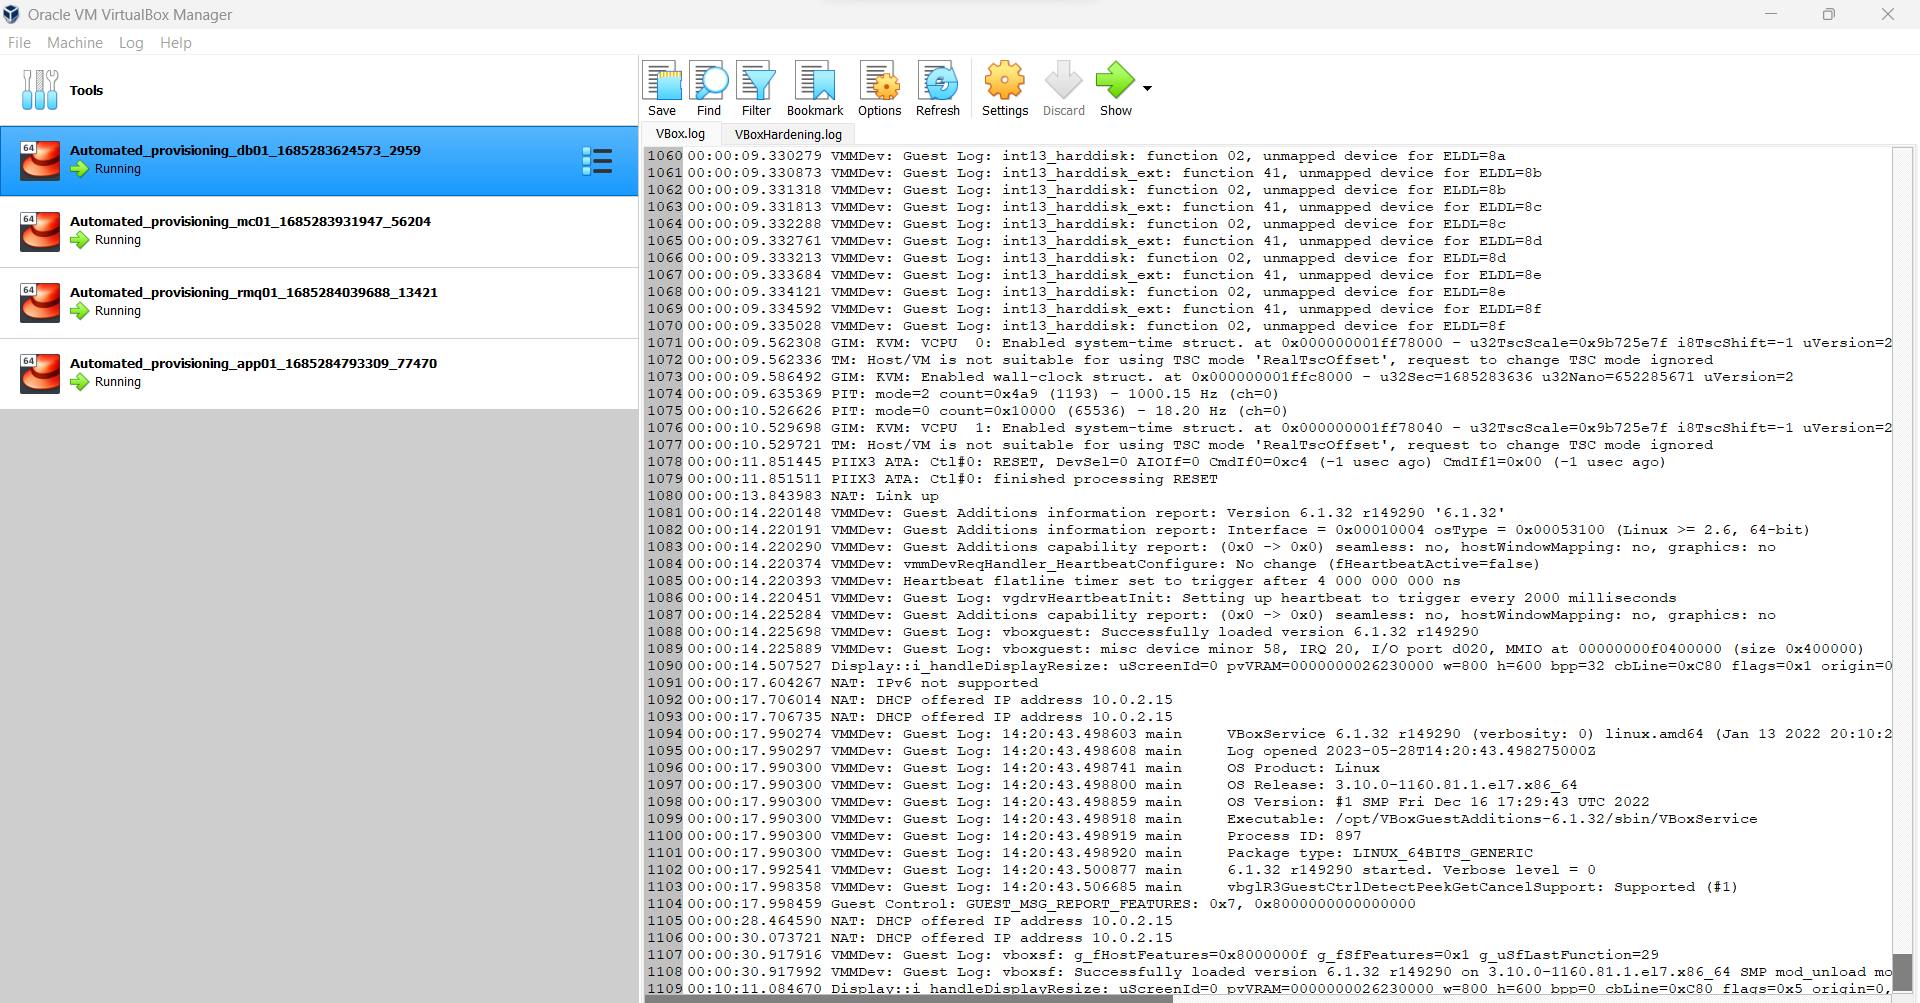
Then, simply use the command vagrant up to begin the automated provisioning.
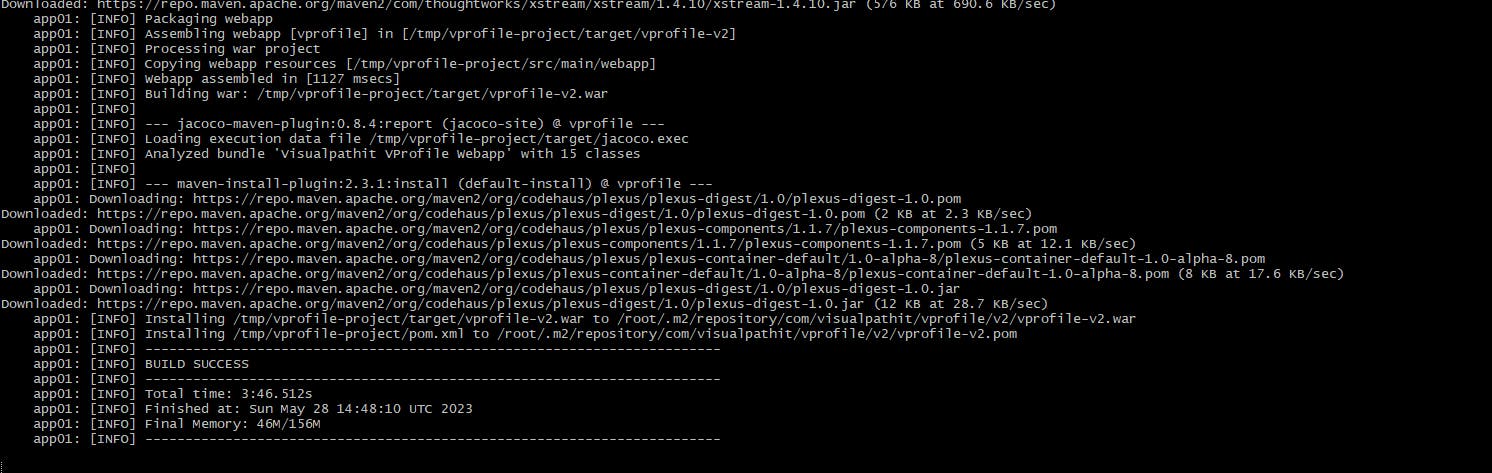
Maven build and packaging have been completed:
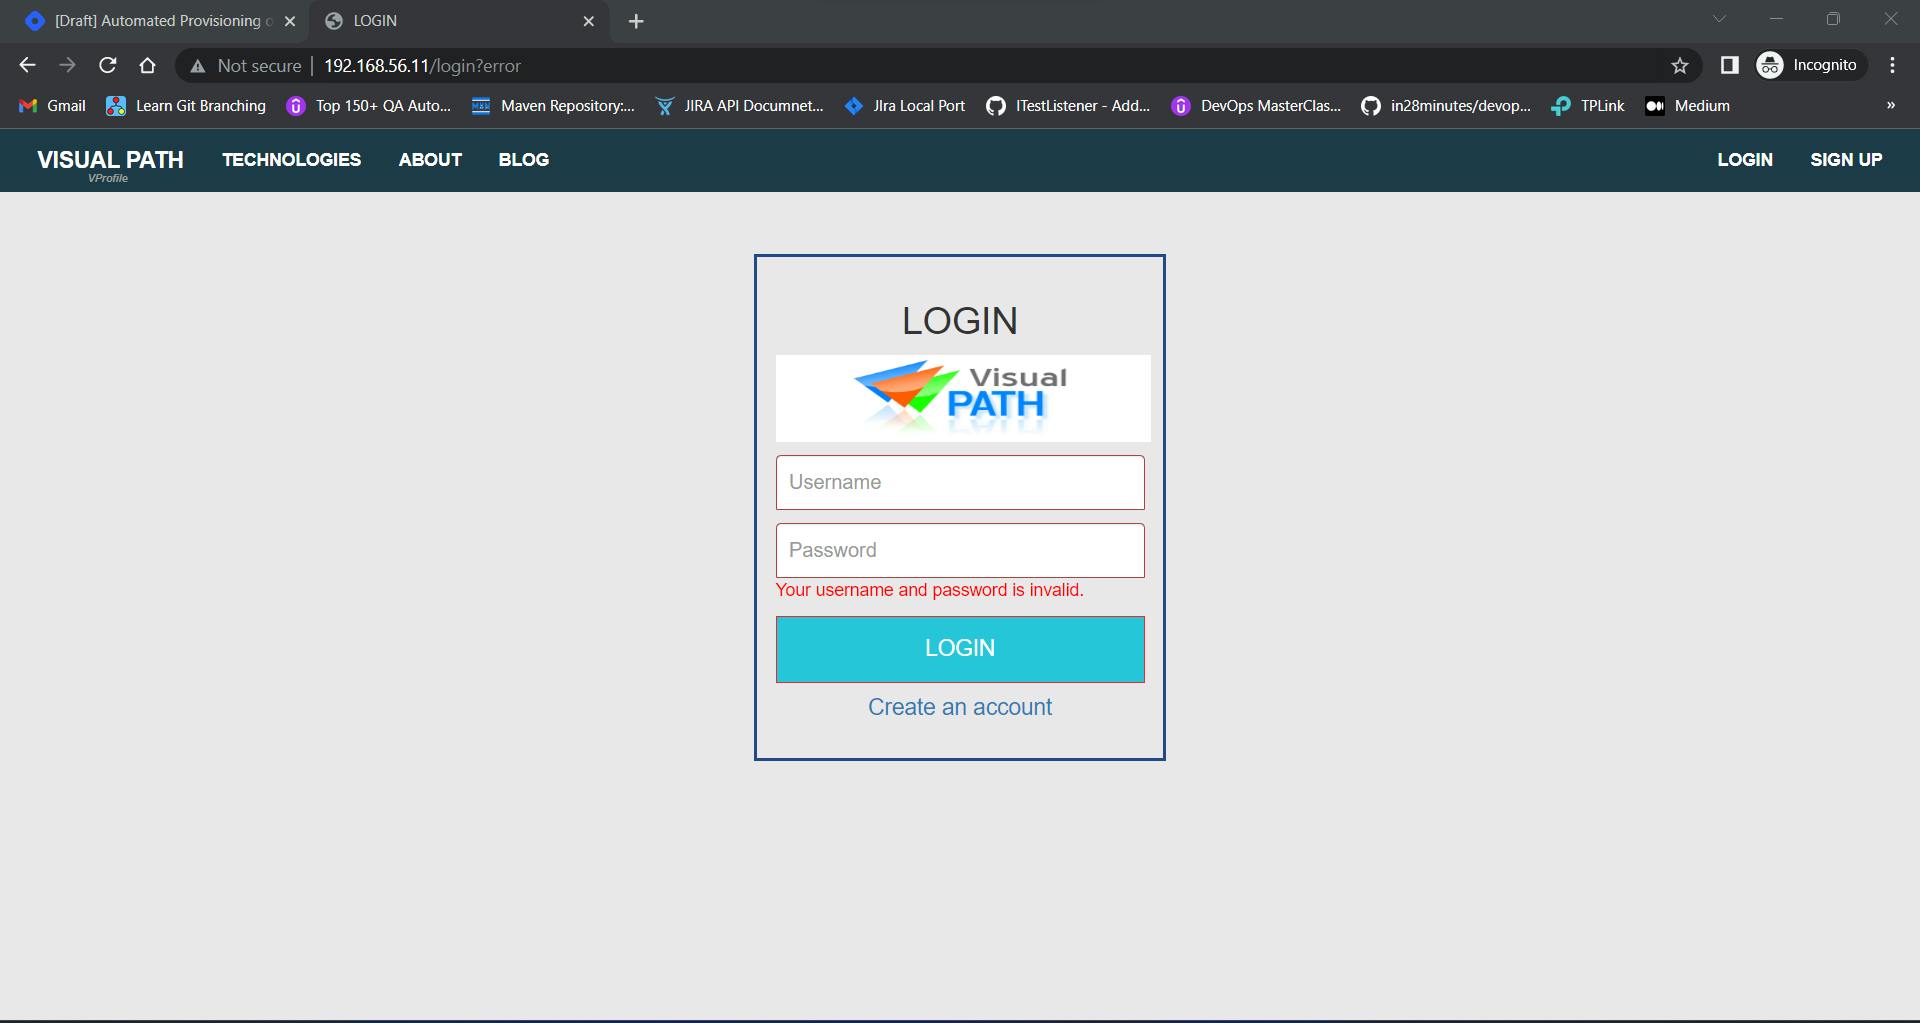
Deployment Completed
Thank you! :)