


Git Branching
What is Git Branch?
Git Branch is an unavoidable concept when we are studying Git. Branching is a part of the daily development process. Git Branches are effectively a pointer to a snapshot of your incremental changes. It helps to encapsulate and keeps the changes made by you up to you only. It saves the main code base from any unstable code and gives you a chance to clean up any mess that is made by experimenting.
Imagine there are 5 developers in your team and you people are writing incremental pieces of code daily so, you can not just write the code on the central repository because if there are any issues in your code it can cause a huge problem. So here comes the concept Branch, consider it as a Rough Page for you which is limited to you and you can do whatever you want like adding a new feature, debugging or no matter how big or small changes you made this will not affect the main code that is already approved and in there in the main code base.
How does it work?
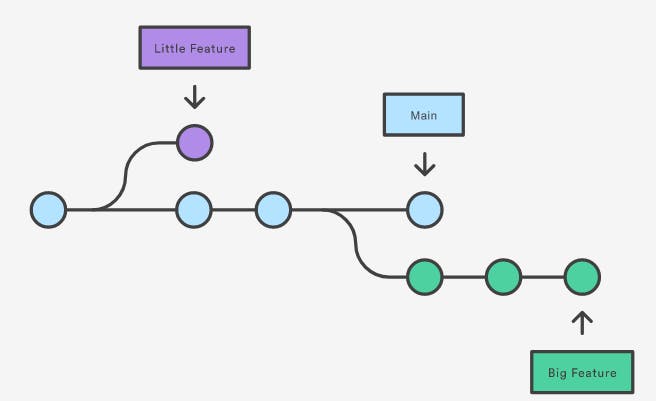
When you create a branch, it comes out as a separate line from the main branch bringing all the files or codes that are available in the main branch until that time.
Then it enables you to build your feature while keeping the previous code with yourself without impacting the main code base. You can create branches from any point and start coding your feature. When you feel that your feature is stable and it gets approval to be a part of the main code base, you can simply merge the piece of code to the main code base.
Command For Branching
1- Listing the branches that are available in the repository
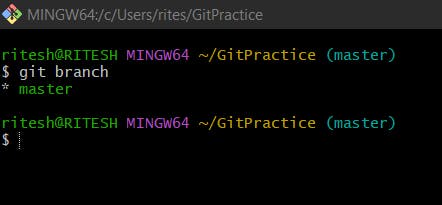
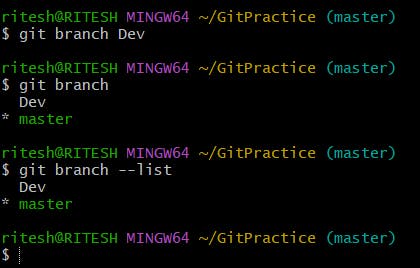
$ git branch : Helps to know the branches present in your local repository.
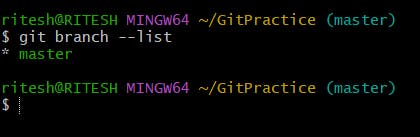
$ git branch --list : It is an alternative to $ git branch which also lists all the branches available.
$ git branch -a : It shows the list of the remote branch. In the below picture, origin is a variable that points to the remote repository and it contains a branch called master as well.

Note: Currently the above pictures, show the master branch which is created by default when Git is initialized. It is the base branch of any repository. As there are no further branches created hence, it lists only the master branch.
2- Creating Branches and Operating inside them
$ git branch <branchName> : It is used to create a new branch but it won't switch to the newly created branch automatically. Now when you command git branch or git branch --list it will show the list of branches and the current branch you are in by making it green.
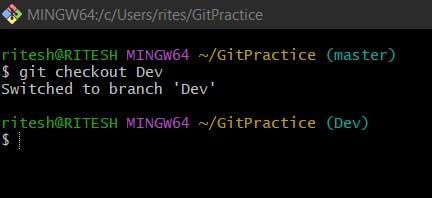
$ git checkout <branchName> : It switches us into the specified branch name
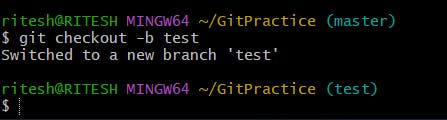
$ git checkout -b branchName : It creates the branch and switches to it at the same time.
3- Deleting Branches & Renaming Branches
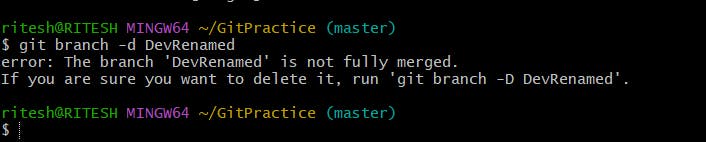
$ git branch -d Dev : It is a safe way of deleting branches. This command prevents the deletion of the branch if it has any unmerged changes and the Dev branch has one unmerged file named branch.py
You can see the log below where the Head is pointing to the Dev branch and it has an unmerged file:

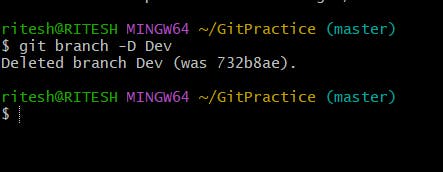
$ git branch -D Dev : It is used to forcefully delete the branch even if it contains unmerged files.

$ git branch -m DevRenamed : This renames the branch name.
Creating a branch from another sub-branch
As you already know we have a master branch from which we created a branch called Dev. Now, have you ever thought about what happens when we create another branch from Dev? Let's see.
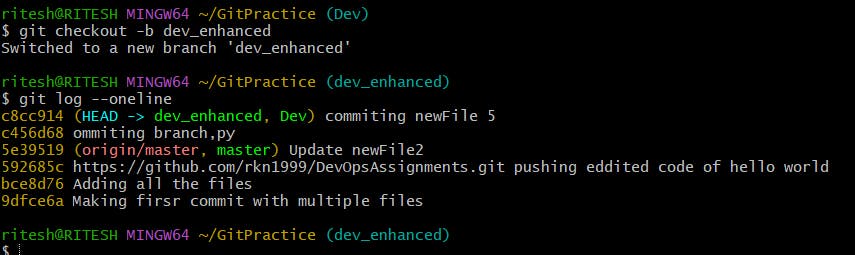
Here as you can see the HEAD-> dev_enhanced, Dev which means dev_enhanced is currently in sync with Dev as it is coming out of Dev itself and the HEAD is pointing at dev_enhanced.
When we are creating a branch from another sub-branch, it brings all the commits from the master as well as from the branch it is created from because it's parent has all the files that are present in the master.
Remote Branching
So far we have been trying all the commands on the Local system. We can also do the same on remote repositories as well.
$ git remote add new-remote-repo https://github.com/rkn1999/devops-batch2-zero-to-here.git : This is used to add a remote repository however, make sure a remote repo must first be configured and added to the local repo config.

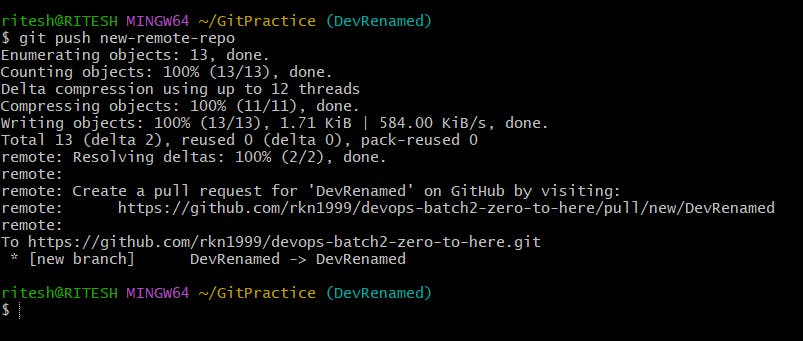
$ git push new-remote-repo : Now we pushed the changes to the remote repo.